
If you own an RV, you know that maintenance is a constant problem. Whether there is a leak, a flat tire, or something wrong with the plumbing, there is always something to work on. One of the never-ending tasks is keeping your RV clean, inside and out.
How To Clean RV Awning With Dawn
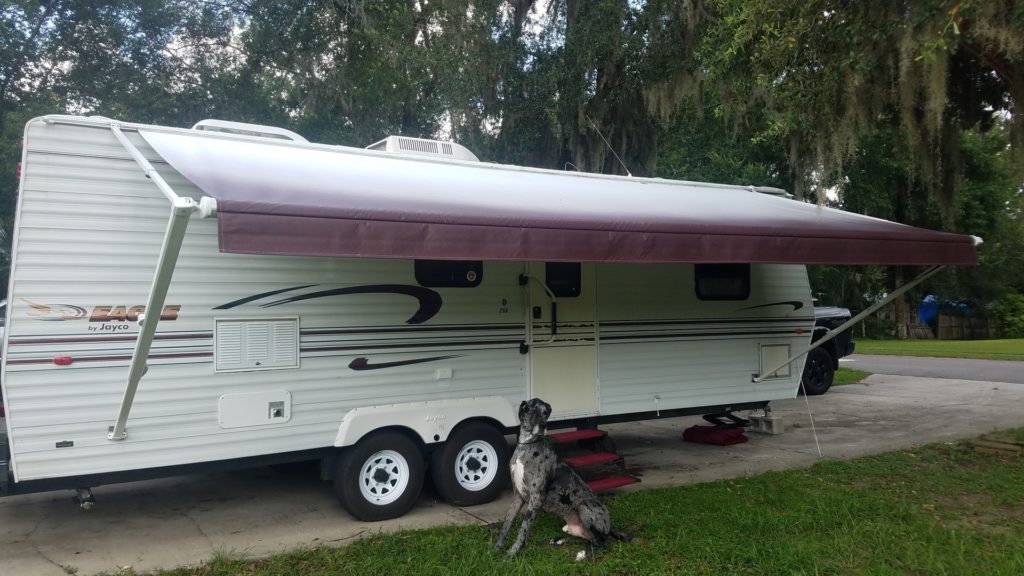
It is easy to neglect the awning on your RV. When you are packing up at the end of a weekend it is easy to roll it up and forget about it, but surprisingly they can get quite dirty! And of course, there is nothing quite like the wonderful feeling of sitting underneath your awning throughout a relaxing weekend away, but it isn’t quite as appealing when you can see the dirt and grime building up.
This task takes about 10 minutes of active time. If you have kids, this would be a perfect task for them to tackle. It is relatively straightforward and you really can’t clean it incorrectly with the method we are about to share.
Material needed:
- Dawn dish soap
- Spray bottle
- Ladder
- Long handled brush
- Hose with spray handle
Note: be gentle while cleaning your awning. Awnings are typically made of vinyl or acrylic. If you scrub too hard or use harsh chemicals you can damage the surface of your awning, which is why we recommend Dawn dish soap.
- Step 1: Grab an empty spray bottle and add a few healthy squirt of Dawn dish soap. You don’t need more than a ¼ cup but you do want a decent bit in the bottle.
- Step 2: Fill the bottle with water and shake.
- Step 3: Spray your awning down.
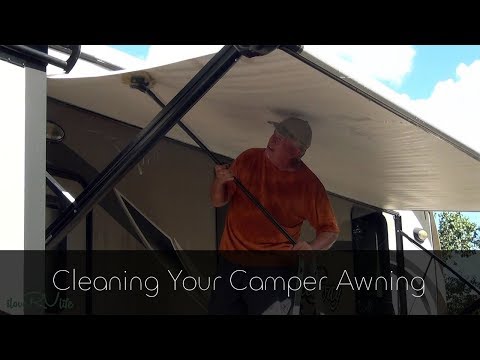
- Step 4: If your awning is very dirty, grab the long handled brush and put some elbow grease into scrubbing the awning down. This will help loosen any particles or dirt.
- Step 5: Roll your awning up and let it sit for 30-60 minutes depending on how dirty your awning may be and/or how much time you have available.
- Step 6: Unroll your awning and spray it down with your hose.
- Step 7: Allow your awning to dry fully before rolling it up again.
- Step 8: Enjoy your thoroughly restored awning
Unless your awning has mold or mildew, this is one of the fastest ways to clean your RV awning. If you start the process before you clean out the inside of your RV, you can rinse off the awning after you finish the interior cleaning process. Efficient!
If you are cleaning the inside of your RV, check out 5 Best Portable and Cordless RV Vacuums for Simple RV Cleaning review.
How To Clean Mildew From Underside of RV Awning
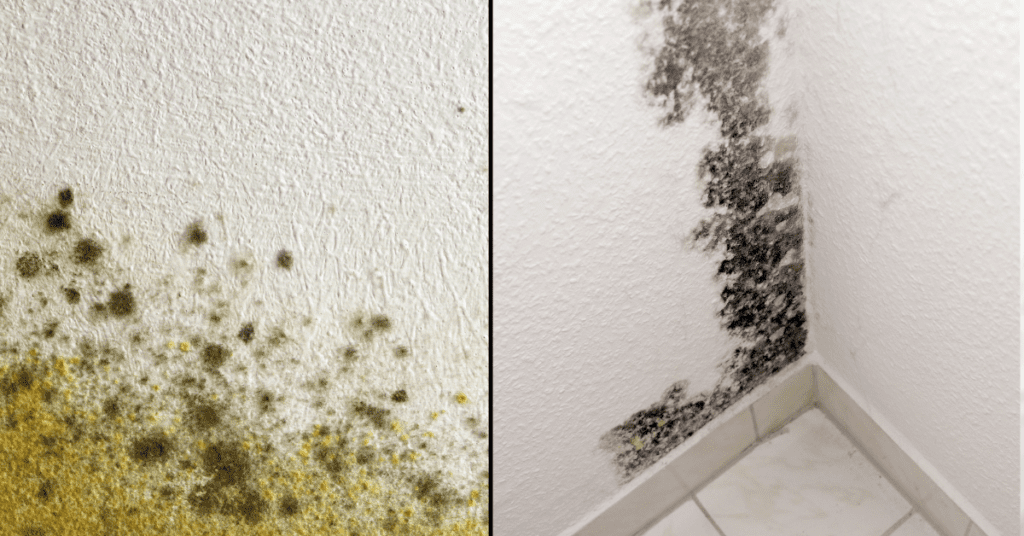
Sometimes, mildew can build up underneath your awning. Not only does it look bad, mildew can have a certain unappealing odor as well. Here is the best way to clean mildew from the underside of an RV awning.
- Step 1: Grab an empty spray bottle and add a 50:50 solution of white vinegar to water. Vinegar is a natural cleaner that works effectively against mildew and won’t damage your RV awning.
- Step 2: Shake the spray bottle to integrate the solution.
- Step 3: Spray your awning down. If mildew is only on one part of the awning, we recommend only spraying the affected area.
- Step 4: If your awning has a lot of mildew built up, grab your brush and agitate the surface of the awning to work in the vinegar.
- Step 5: Roll your awning up and let it sit for 30 minutes.
- Step 6: Unroll your awning and spray it down thoroughly with your hose. Make sure to rinse all of the solution off the awning.
- Step 7: Allow your awning to dry fully before rolling it up again.
- Step 8: Enjoy a mildew-free awning!
How To Clean RV Awning With Tilex Mold and Mildew
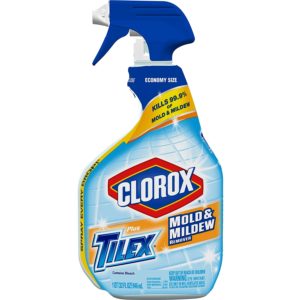
If your RV awning is still in rough shape, there is one more cleaning product we’d recommend. Tilex Mold and Mildew is your best bet to remove serious mold and mildew on your awning. The steps are very similar to before, but we will list them again below with a few additions.
- Step 1: Purchase Tilex Mold and Mildew from your local grocery store, Home Depot, etc.
- Step 2: Spray your awning down. If there are stubborn areas of mildew or mold, make sure to soak those areas with Tilex.
- Step 3: Take your brush and agitate the surface of the awning to work in the Tilex and remove mold.
- Step 4: Roll your awning up and let it sit for 15-30 minutes.
- Step 5: Unroll your awning and spray it down thoroughly with your hose. Make sure to rinse all of the solution off the awning.If you have a power washer, you could use your power washer to very carefully spray your awning down. Make sure to keep the head of the power washer a safe distance away from the awning to avoid damage.
- Step 6: Allow your awning to dry fully before rolling it up again.
- Step 7: Enjoy a clean awning.
With these three methods, you should be able to tackle any serious RV awning cleaning problems. Whether your awning is dusty or in need of a deep cleaning, each of the methods above will be able to help so you can once again enjoy a clean awning.
Cost To Replace RV Awning Fabric
If worse comes to worse, you can replace the fabric on your awning entirely. While this isn’t ideal, sometimes an awning has come to the end of its useful life. Depending on size, you are looking at a range between $300-4000 dollars to replace RV awning fabric. Ouch!